博文
Common ECU Programming Tools Introduction
Here are some best ECU programmers for beginner.
It is advisable to use the original tool to ensure non-infringement, quality assurance, and tech support.
Alientech KESS V3, CG FC200, OBDSTAR DC706, Launch X431 ECU & TCU Programmer, Launch X431 X-Prog3 PC Adapter, Xhorse Multi-Prog
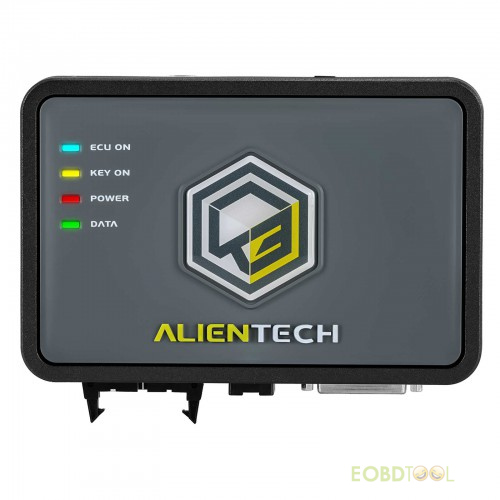
- Support OBD, Bench and Boot Mode
- Support separate Car, Motorcycle, Truck/Tractor, Agricultural and Marine Protocols
- Multi-language: English, Italian, French, German, Spanish, Chinese, Polish, Russian, Portuguese
- One year subscription for freeupon activation
- ALIENTECH KESS V3 User Manual
- Kess 3 Newest Vehicle List(with continuous updates and new protocols on Alientech)
- Support CAN-BUS, Bench Mode and Boot Mode
- Support BOSCH MPC5xx platform mode ECU: MED9.1, MED9.5, MED9.5.10, ME9.0, EDC16CP31, EDC16CP35, EDC16C2, and EDC16C8(Need to buy extra FC200 MPC5XX Adapter)
- Support Checksum Function, Please Check FC200 Support Checksum List
- Supports 4200 ECUs/EGS, covers 80% of models in the market. CheckCG FC200 ECU List
- Multi-language: English, French
- Free Update Online for One Year. Annual Fee will be €200/yearafter the first year
- CG F200 User Manual
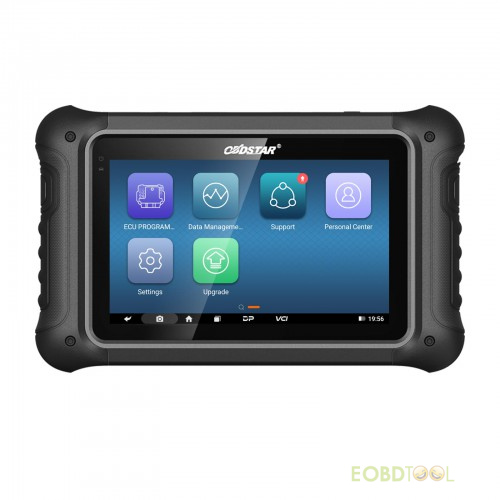
- Supports OBD, Bench and Boot mode
- Full Configuration ECU clone(Car/Motorcycle) + TCM clone + Body/Other clone
- One Year Free Update Online
- OBDSTAR DC706 RegistrationGuide
- OBDSTAR DC706 Vehicle List
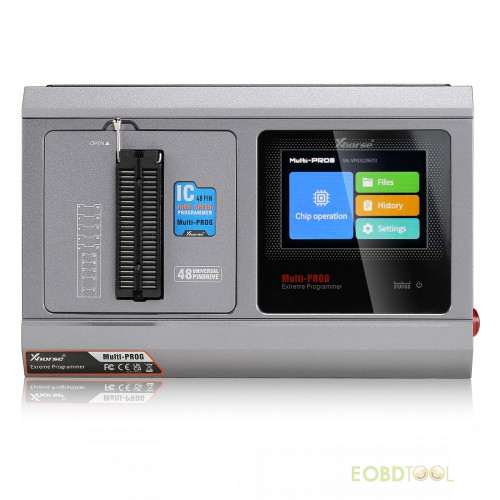
- Supports Bench and Boot mode
- Support chip read/write alone and read/write ECU data
- Get free BMW ISN read function and NEC, MPC, Infineon etc chip continuously update service
- With free MQB48 license. Bind Multi-prog to VVDI2 full version or key tool plus to the same Xhorse app account to use MQB48 NEC35XX function.
- Add VAG MQB RH850 dashboard processor(need separate RH850 cable for multiprog)
- Built-in update software: Make Multi-Prog firmware update timely.
- Language: English, Chinese
- Xhorse Multi-Prog User Manual

X431 ECU Programmer and X431 PC Adapter support the same function. The difference is that PC Adapter needs to work with X-431 X-Prog3, and they work with different PC software. Except that, others are similar.
- Support BENCH modeand the physical connection diagram using the gearbox adapter
- Multi-Language: English, German, Japanese, Russian, French, Portuguese, Italian, Korean, Chinese
- 1 Year Free Update. $150 per year later. You can update it online directly on your device, no renewal card for the ECU Programmer.
- Launch X431 ECU & TCU Programmer User Manual
- Launch X431 ECU TCU Programmer Car List
In summary:
All above ECU Programmers have operation instruction and wiring diagram in the software.
These tools are a connection device between the laptop and the car’s ECU (only DC706 can work alone), which is used for reading and writing the ECU’s memory in different methods. Depending on the type of the car or ECU, the method of reading or writing the file can be different.
Only Kess3 and DC706 can support OBD, Bench, and Boot three modes. Others don’t support OBD mode.
Kess V3 supports the most protocols, but it’s the most expensive, and needs to buy the corresponding protocol.
FC200 and Multi-Prog are more cost-effective to choose. Multi Prog software is updated frequently and quickly.
For beginners with weak hands-on ability, obd2 and bench modes are suitable for use, and for the customers with strong hands-on ability, they can do all modes.
Besides, CG100X, CG100 Prog III, and Yanhua ACDP-2 also support ECU cloning for some car models.
As a beginner, it's important to start with simple modifications and work your way up. Make small changes to your ECU settings and see how they affect your engine's performance. As you become more experienced, you can gradually increase the complexity of your modifications.
Here is regular operation guide:
Step 1: Read the original ECU
Use a professional ECU programmer to read the original data stored on the ECU.
Step 2: Save the original ECU’s data
Save the original ECU to a computer or other storage device. This is known as “dumping” the original ECU.
Step 3: Prepare the replacement ECU
Prepare a replacement ECU to receive the data from the original ECU for the cloning process. This may involve wiping any existing data from the replacement ECU or making any necessary hardware modifications.
Step 4: Write the original ECU’s data to the replacement ECU
Write the data from the original ECU to the replacement ECU. This process is known as “flashing” the replacement ECU.
Step 5: Verify the replacement ECU
The replacement ECU is then connected to a diagnostic scanner and the software and data on the replacement ECU is verified to ensure that it matches that of the original ECU.
Step 6: Install the replacement ECU
After cloning, install the replacement ECU in the vehicle and connect to the engine management system. It is thoroughly checked to ensure that everything is working correctly and is optimized to the vehicle’s requirements.

Suggestion:
Depending on the device and ECU type, the connection method and operation steps may have some differences.
It’s recommended to follow the official or our social platforms like website, official blogs, YouTube, Facebook, Tiktok, etc. You can find the related user manual (tutorial), customer feedback and update info, etc there.
In addition, there are many online forums and communities dedicated to ECU cloning. It’s a great way to join some communities to learn from others, get advice, and stay up-to-date on the latest developments in the field.
Eobdtool.co.uk Social Platforms:
Official blog: http://blog.eobdtool.co.uk/
Facebook: Auto ECU Programming
Youtube: EOBD TOOL
Instagram: eobdtools
Contact us:
Email:sales@eOBDTool.co.uk
WhatsApp: +86 159 7293 3706
Skype: Eobdtool.co.uk
Business Time: Monday - Friday, 8:30am - 6:00pm CST (UTC/ GMT+08:00)
免责声明:本文中使用的图片均由博主自行发布,与本网无关,如有侵权,请联系博主进行删除。
下一篇: Lonsdor K518 Pro + Lonsdor KW100 Quick Generate Key for 2015 Lexus(AKL & wit


全部作者的其他最新博文
- • Key Master G3 Activate Airbag Reset/Mileage Correction License Introduction
- • Alientech KESS3 Update: Added JCB Delphi DCM7.24 ECU Cloning in BOOT Mode
- • OBDSTAR DC706 Clone SUZUKI HA112700 ECM on Bench Guide
- • 2024 KESS3 ECU Programmer FAQ & Customer Feedback
- • OBDSTAR X300 Classic G3(Key Master G3) Read VW MED17.5 TC1766 Guide
- • OBDSTAR X300 Classic G3 Repair Toyota SAS on Bench